Way back when I made the decision to build a full-on tiki lounge, I knew that ultimately it had to become a wetbar, with a sink and running water. Because that's how all the cool home bars rolled, right? But I couldn't just go down to Lowe's and pick up a sink--that wouldn't be tiki enough. I had to have a themed sink. A sea shell would be perfect! Unfortunately, actual giant clam shells have been banned from import to the U.S. since the 1980s because of over-fishing. Those already in the U.S. can cost thousands. There are decorator sinks in the shape of clam shells, but these are more abstract and the fake marble looks like something out of a 1990s restaurant bathroom. They're expensive as well. So I looked around for fake shells. I found some that looked good, but they were mostly plaster that wouldn't hold up to water. Resin types looked great and were more durable, but always seemed to be out of stock or out of production. Eventually, I settled on a concrete shell purchased online on Amazon for about $50.
This was last summer, when I thought I'd have the whole tiki bar finished before October. That didn't happen. So the shell sat unused between then and now. The irony is that now this same shell is readily available at Home Depot. Cutting through concrete isn't a simple task, though, and I had to order a 1.5 inch masonry borer for my drill to make a suitable hole.
Drilling concrete isn't the same as drilling through wood. The friction creates heat, so I added splashes of water to keep the dust and friction heat down during the drilling.
It's as a slow, deliberate process. I probably could've done it more quickly, but since I'm inexperience and didn't want to ruin the shell and have to buy another one... well, I just took it slowly.
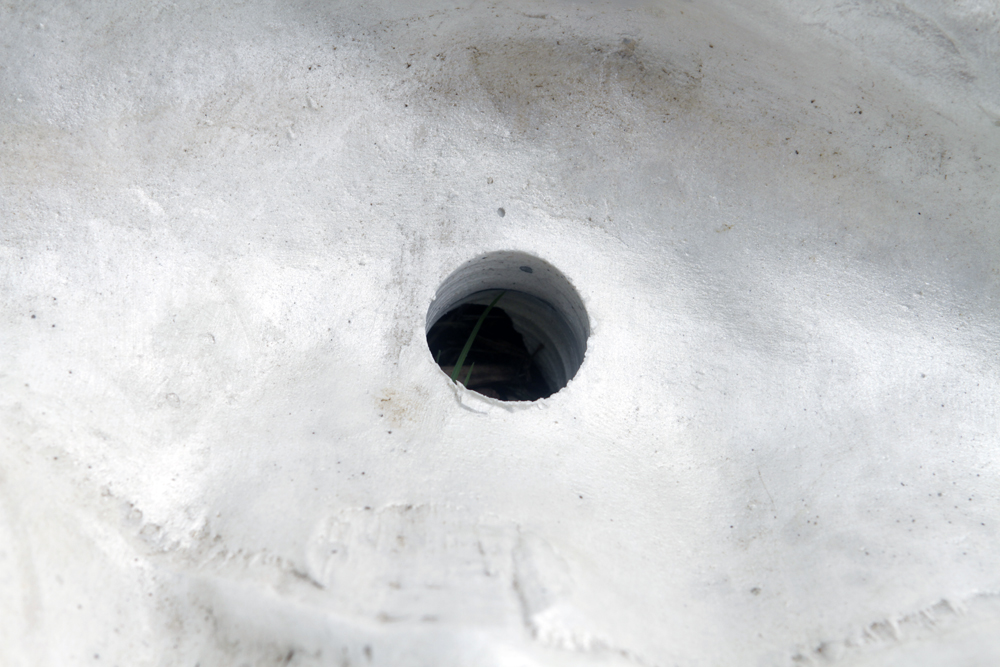
Breakthrough!
The edges of the drain hole were rough. I used a grinding bit on my drill to smooth the edges.
The underside of the sink.
I found a brass drain online, with a push-button stopper. The brass fit with the whole tiki aesthetic.
Right away, I realized I had a problem. The curvature of the underside of the shell prevented a flush mounting of the drain. I had not thought far enough ahead to see this problem in advance. Sigh.
I tried my angle grinding on it, and quickly found my grinding discs wouldn't cut it against the concrete. So I had to spring for a dedicated concrete grinding disc. Silicosis is a really nasty lung condition caused by inhaling silicate dust--that stuff produced when grinding concrete--so I did no grinding without wearing a breather mask. That moldy sawdust knocking me on my ass a while back gave me a healthy respect for not breathing in foreign dust. I wore safety goggles as well, because a chip of concrete in the eye didn't excite me either.
So, I started grinding.
And grinding. And grinding. It took quite a while to get a flat surface, then even longer to get it squared with the drain hole (a three degree angle doesn't sound like much until you try to fit a drain in it).
Much better. It's not a perfect fit, but I can work with it.
The bowl side, however, was another story.
What had seemed like a smooth, concave surface proved to have subtle undulations of its own. This was enough to prevent the drain from setting flush. This wouldn't be that big of a deal except that pooling water isn't a great thing to have in a working sink.
I corrected the problem somewhat by using a Dremel and grinder bits to carve out the high spots so the drain would set more flush.
A wet bar is not much use without water, so plumbing was the next challenge. The previous owners of our house had a refrigerator with an ice maker in the garage, and there was already a copper ice maker line tapped into a garage sink. Drilling through the fiber cement siding and drywall was pretty straightforward.
Fortunately, the long bit I'd gotten for the deck posts was the exact diameter I needed for the copper tubing. This is one of the few times I'd not had to go out and purchase a new tool to complete a particular project on this tiki build. That made me happy.
This is how it looked on the other side of the wall. Not terribly tiki, is it?
The copper tubing used pressure couplings, and these I did have to go buy new. I thought I could re-use the existing couplings, but after one use they become deformed and leak if re-used. Ah well. Live and learn.
It's been so long since I'd done any plumbing work that it took me a while to realize these new-fangled pressure coupling nuts came with a built-in compression ring. I wasted a lot of time looking for loose compression rings.
The nut slips right over the tubing.
Then comes the double-sided threaded coupling. You don't want to over-tighten the nut onto the coupling. Over-tightening will make it leak just as easily as under-tightening, then you've got to start over. Copper and brass are soft metals. It doesn't take much effort to complete the seal.
Next up: The faucet. Yes, another online find. It's brass and styled to look like bamboo, perfect for the tiki aesthetic. I purchased this last summer as well. I had an optimistic timeline.
Each bamboo node can be unscrewed. This makes it a lot easier to thread in the water lines. The faucet has hot and cold lines, but I'm probably only going to have cold water running to my bar, because tapping the hot pipe from the garage sink would involve complicated logistics I don't think I want to tackle. Plus, it's just not necessary unless I'm out to show off.
Back in my teenage years I helped my father install many, many irrigation systems over the summers. On all the threaded pipe joints (which weren't secured with PVC cement) we used "pipe dope" which was a white, waxy crayon-type stick. We rubbed the dope on the threads which served to lubricate and seal the joint. That stuff doesn't seem to be readily available, but I found this past-like substance at Lowe's. It's the same principle, only a little messier. I've dealt with enough leaks in my time to not want to take any chances.
I applied a goodly amount of pipe join compound to the thread.
Then screwed on the water line. Success! No leaks! At least, not from the join. The water happily spewed out through the hot water inlet in the faucet, so plugging that became a must.
Now, the tough part began. I used a piece of cardboard to make a cutout template of the shell's underside contour. It was an... imperfect process at best. I looked online to find any tips for such a thing, but came up empty. The interwebz failed me! I started with an oval cut-out and used an Xacto knife to trim away pieces until I got a kinda, sorta good fit. The end result was imperfect, but after spending a couple of days trying to get it right, I realized sometimes you just have to make up your mind to cut bait or fish. I positioned the template on the back bar--making sure to allow enough clearance for the shell overhang--and traced it out with a Sharpie.
I used a 3/4" bit to drill several pilot holes, then my jigsaw to cut the contour shapes. The jigsaw was an imperfect tool for this task, and I made more than a few mis-cuts.
Eventually, after a bunch of touch-ups, I had a suitable hole cut in the back bar top. I'd forgotten how seriously thick I'd made the bar top. That's heavy-duty lumber there!
The faucet and shell testing out the space. Call it proof-of-concept.
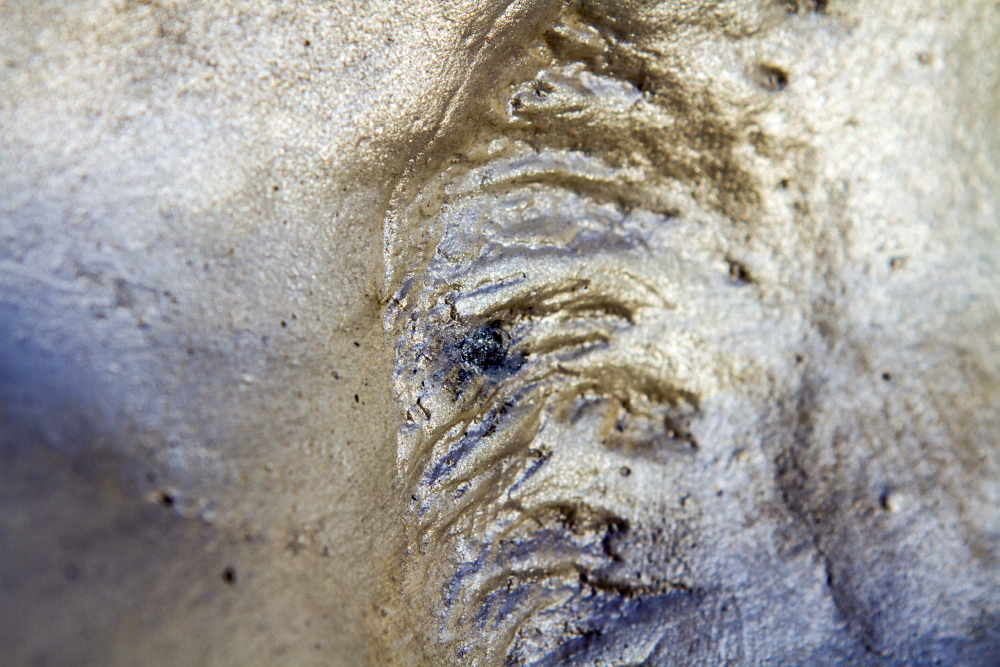
About this time I noticed a cavity in the shell. It was an air bubble or something that had cracked through to the surface. That wouldn't be good with water in the basin, so I needed to fill it. I took some epoxy putty and packed it into the cavity, bit by bit, until I could force no more in. Then I smoothed it flush and let it cure. I don't know where the gold color in this image comes from--trust me, in real life it's creamy white.
For the basin, I didn't want the shell to be a dull white concrete. This is about illusion and presentation, correct? I found some iridescent acrylic paint additive at a craft store. I diluted it 50 percent and applied a couple of coats to the shell basin. Then I added some to the acrylic Clear-Seal (UV-resistant formula, durable for use on driveways) and applied a final coat on the shell to waterproof it. I don't know if this stuff is food-safe, but nobody's going to drink anything out of the sink, right? It's just there for rinsing. I stand by my decision. I'll probably have to recoat the shell in a few years, give or take, but that's DYI for you.
Installing the drain was pretty straightforward but also took far more time and energy than it should have. I expected this to be simple, since I was experienced in working with PVC. Alas, the drain kits sold in stores are all this very thin PVC material that doesn't really match traditional PVC pipe in size. So I had to jury-rig these off-the-shelf components to do something simple, yet simultaneously not something they were designed to do.
The drain I was tapping into was a little more than three feet from the wall. Drain extension tubes came in lengths of 12" with only about 10" of that usable length once the pieces are mated together. I could've cut one length of 1/2" PVC to fit, easy, but someone, somewhere, didn't want me to do that.
Here's the drain I was tapping into. A simple T joint was all I needed, right? It took me several hours of looking to find a piece that would fit.
Here's the T joint, and the pipe I have to splice it into.
Here is the pipe after appropriate cuttage. You'd think that after everything I've gone through on this project I'd have cut the pipe too short and been forced to start over. You'd be wrong. I actually nailed it in one, and the splice went perfectly.
Sometimes I amaze even myself. I didn't use pipe join compound on these threads because the threads themselves aren't water-tight. There's a beveled washer/o-ring thing that completes the seal on these.
Here is the drain pipe extended all the way from the wall. It looks terrible. Sloppy. Haphazard. I won't like--this inelegant mess embarrasses me. I will find something to put in front of it in the future to hide my shame.
This is how everything comes together behind the garage sink. You get a good look at the copper tubing connection here as well. It's not pretty, but it is functional.
The water inlet line to the faucet was not long enough to reach the copper tubing when the faucet was fully installed, so I added an extension, secured with pipe join compound to preclude leaks.
Next was capping the hot water inlet, using a threaded coupling and end cap.
I applied the pipe join compound.
Then the cap. I had to tighten the cap several times before completely sealing the line off, but ultimately I was successful. In the future, I might add a T joint to the line so both the hot and cold sides of the faucet produce water, even if it will just be cold.
Once everything was put together, I gave the sink a test and discovered the drain still leaked. The concrete shell simply had too many irregularities to make a solid seal. Time to break out the silicone caulk (clear, because who wants colored caulk so everyone can see your screw-ups?).
I squeezed a considerable amount into the top of the drain hole, around the brass drain insert.
I tightened the brass drain insert into place, forcing excess silicone to ooze out from the sides. I wiped this away and smoothed the bead to be flush with the basin.
Likewise, the bottom. The entire shaft is pretty much solid silicone. This will be a pain if I ever have to remove the brass drain, but how often will I have to do that? After letting the silicone cure for 24 hours, I tested the sink. I'm happy to report there are no leaks anywhere.
The finished sink, in situ.
Here's a short video of the sink in action. I had to make some adjustments to the valve in the garage, because the initial burst of water was under such pressure that it shot way past the basin. The video is of mediocre quality, which is frustrating because my phone was set to high quality, but then again my Galaxy Note is 7 years old and getting kind of wonky, so I suppose I should be grateful that it still functions enough to use as a phone.
Having used the wet bar sink for little more than three weeks at this point, I have to say that I highly recommend adding a sink to your home bar if you can swing it. The convenience for rinsing out mixing tins, tiki mugs, utensils etc. simply cannot be beat. Yes, I could still take things into the kitchen to wash, but it's so much quicker and convenient to clean up all the barware in the bar itself. I still need to figure out some way to securely fasten the sink to the back bar, but for now, gravity's doing a fine job.
Now Playing: Martin Denny Exotica Chicken Ranch Central


No comments:
Post a Comment